Liked
Tandem, again
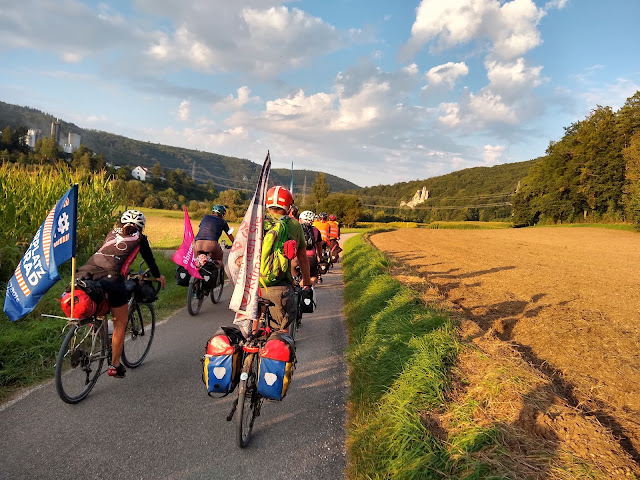
I included it last year, but I have to mention it again: I love riding the tandem with my SO! This year we upped our game and did the longest ever ride on the tandem: A hilly 85 miles.
 |
| Photo credit: Mark Renner |
Some changes to the tandem: I have been swapping saddles quite a bit and still haven't found one that I'm perfectly happy with -- which may be related to me fiddling around with stems and handlebars. I replaced the Cowbell with
Compass Randonneur 31.8 mm bars (excellent decision), but I still have to dial in the stem length for the coming season.
For the stoker I just installed a new
Suntour NCX suspension seatpost. The original Cannondale suspension post didn't provide enough setback. We've only done one short test ride, but so far the stoker is happy with the seat farther back.
I also installed a
BUMM Cycle Star handlebar mirror. For my regular bikes I never saw a need for a mirror, but on the tandem it has proven quite handy. I can check on traffic without turning my body, which my stoker appreciates. The mirror is installed at the end of the handlebars, which works alright but does mean it goes out of adjustment regularly from leaning the bike against things or bumping into the mirror when off the bike.
A "liked" innovation for my stoker was the switch to clipless pedals on the tandem. One of the issues we kept having was that my natural cadence felt too high for Nicole -- despite her being a spinner on her solo bikes. Switching to clipless pedals pretty much resolved this issue, and because she never has to unclip at stops, the usual safety concerns with clipless are not an issue on the tandem.
Canti/mini V brakes
Our tandem came with the stock
Cannondale-branded linear pull brakes. Because the bike also uses
brifters, the brakes used a Travel Agent. I never liked the feel of that
combination -- stopping power in the front didn't seem great and the
rear felt very spongy. I bought a pair of used vintage Shimano XTR cantilever
brakes (admittedly partly for the bling factor). I was unable to install
the brakes in the rear because there wasn't enough space to run the
cable and cable hanger. Instead I bought cheap
Shimano V-brakes with 90mm arms, which
according to the internet would work reasonably well with regular pull
road brake levers. They were only $21, and this seems to be working quite well. Good lever feel; sufficient braking power.
BUMM Ixon IQ Premium battery light
Another new purchase primarily for the tandem was a
Busch & Müller Ixon IQ Premium
battery front light. Similar to the B& M dynamo head lights, it
has a nice beam pattern that puts the light where you need it and not
into the eyes of oncoming cyclists. Compared to current generation
dynamo lights like the
IQ X or
even the older lights from the Cyo series, it just isn't as bright,
though, even in high mode. It provides sufficient light in relatively
dark environments, but in an urban setting with lots of light around you
I sometimes wish for more light output. I'm also not a fan of the
handlebar mount. Once firmly installed it works fine, but it's a pain to
transfer the mount from one bike to the other. The fork crown mount
would probably work better, but that place is already taken by a brake
cable mount on the tandem. So this is mostly a "liked," but it also confirms my strong preference for dyno lights whenever practical.
Gravelking tires
I held my judgment about these tires last year, but as I've kept riding them all season and they still seem to have some life left in them, they are now in the liked category. Review
here.
Gunnar Rockhound 26" MTB
I spontaneously bought a used Gunnar MTB last winter. I got it for a good price and have since converted it from the weird narrow 29er build back to its original 26" configuration. The bike rides really nice on the local trails and I'm much faster compared to my Surly fat bike -- but I probably just don't MTB enough to justify keeping the bike. So despite it being a "liked," I'll probably sell it next spring.
This
is a great little bike pump that replaced one of my Topeak Road Morphs.
It's more compact than the Road Morph, it's a better design with the
hose hidden in the barrel, similar to Lezyne mini pumps, and it's only
$30. The only possible improvement would be a high-volume rather than a
high pressure version of the pump. Apparently Pro Bike Tool used to
make such a pump but ultimately discontinued it because of low demand.
Mesh undershirts
I bought two different mesh baselayers this year.
One ultralight one from Craft
for the summer and one slightly heavier one from Aliexpress. My skin is
somewhat sensitive to wool, and I also have sensitive nipples. Both of
these issues are addressed by wearing the mesh baselayer under my bib
shorts and wool jerseys. The ultralight one doesn't add any discernible
warmth; the cheapo one probably does, but that's why I have relegated it
to non-summer use.
Wandrer
I have continued
VeloViewer tile hunting, the Strava-based game where you divide the map into small
squares and try to touch as many contiguous squares as possible. But
with my total square having grown to 29x29, any ride to get new squares
now is at least 50 miles long. Well, what about trying to ride
every
road in your neighborhood, city, county? This is what
Wandrer is
offering. It also integrates with Strava and tracks the percentage of
roads you have ridden on. I've enjoyed collecting new roads quite a bit,
and trying to ride every road here in Madison also sharpens the view
about development patterns: So many residential streets are cul-de-sacs
or otherwise designed to prevent through traffic, often requiring long
detours to get from point A to point B.
 |
| My Wandrer map: Blue are the streets I have ridden on; red the ones I still need to ride |
A very recent but already liked purchase is this set of fancy hex keys. The color coding is great, they feel nice in your hand, and supposedly the hex plus shape of the heads reduces the risk of stripping screw heads. Well worth the 30 bucks.
Disliked
Garmin Vivoactive 3
For the past couple years I've been tracking my mileage only with Strava on my smartphone. For navigation purposes I relied on handwritten cue sheets. This system worked quite well, but I also enjoy having electronic gadgets, and producing the handwritten cue sheets was labor intensive. So when a good sale came up, I bought a
Garmin Vivoactive 3 smartwatch. It quickly turned out that this was the wrong tool for the job. Navigation via watch was cumbersome, the wrist-based heart rate monitoring didn't work well for me, it doesn't support playing music via Bluetooth (You need the special "music" edition for that, which is $70 more expensive...), and in the end I didn't really care about all the metrics the watch tracked. I passed it on to the SO, who actually likes it a lot, especially for running.
After the failure with the Vivoactive, I started looking for bike-specific devices. I narrowed down my choices to the Wahoo Elemnt Bolt and the Garmin 530. Because of the price, I ended up with the Wahoo and so far I'm liking it a lot. But I'll reserve my full judgment for next year's tried-and-liked.
SKS Bluemels Primo 53mm fenders
The aluminum front fender on my daily commuter finally broke -- road salt corroded away enough of the fender to make it break at the stay mount. Because I already had them sitting in my parts bin, I replaced the fender with a plastic SKS fender. While was it cheap and easy to install, a couple wet rides reminded me how important properly long fenders are. Sure, short fenders are better than nothing, but you may as well get properly sized ones. Disliked.
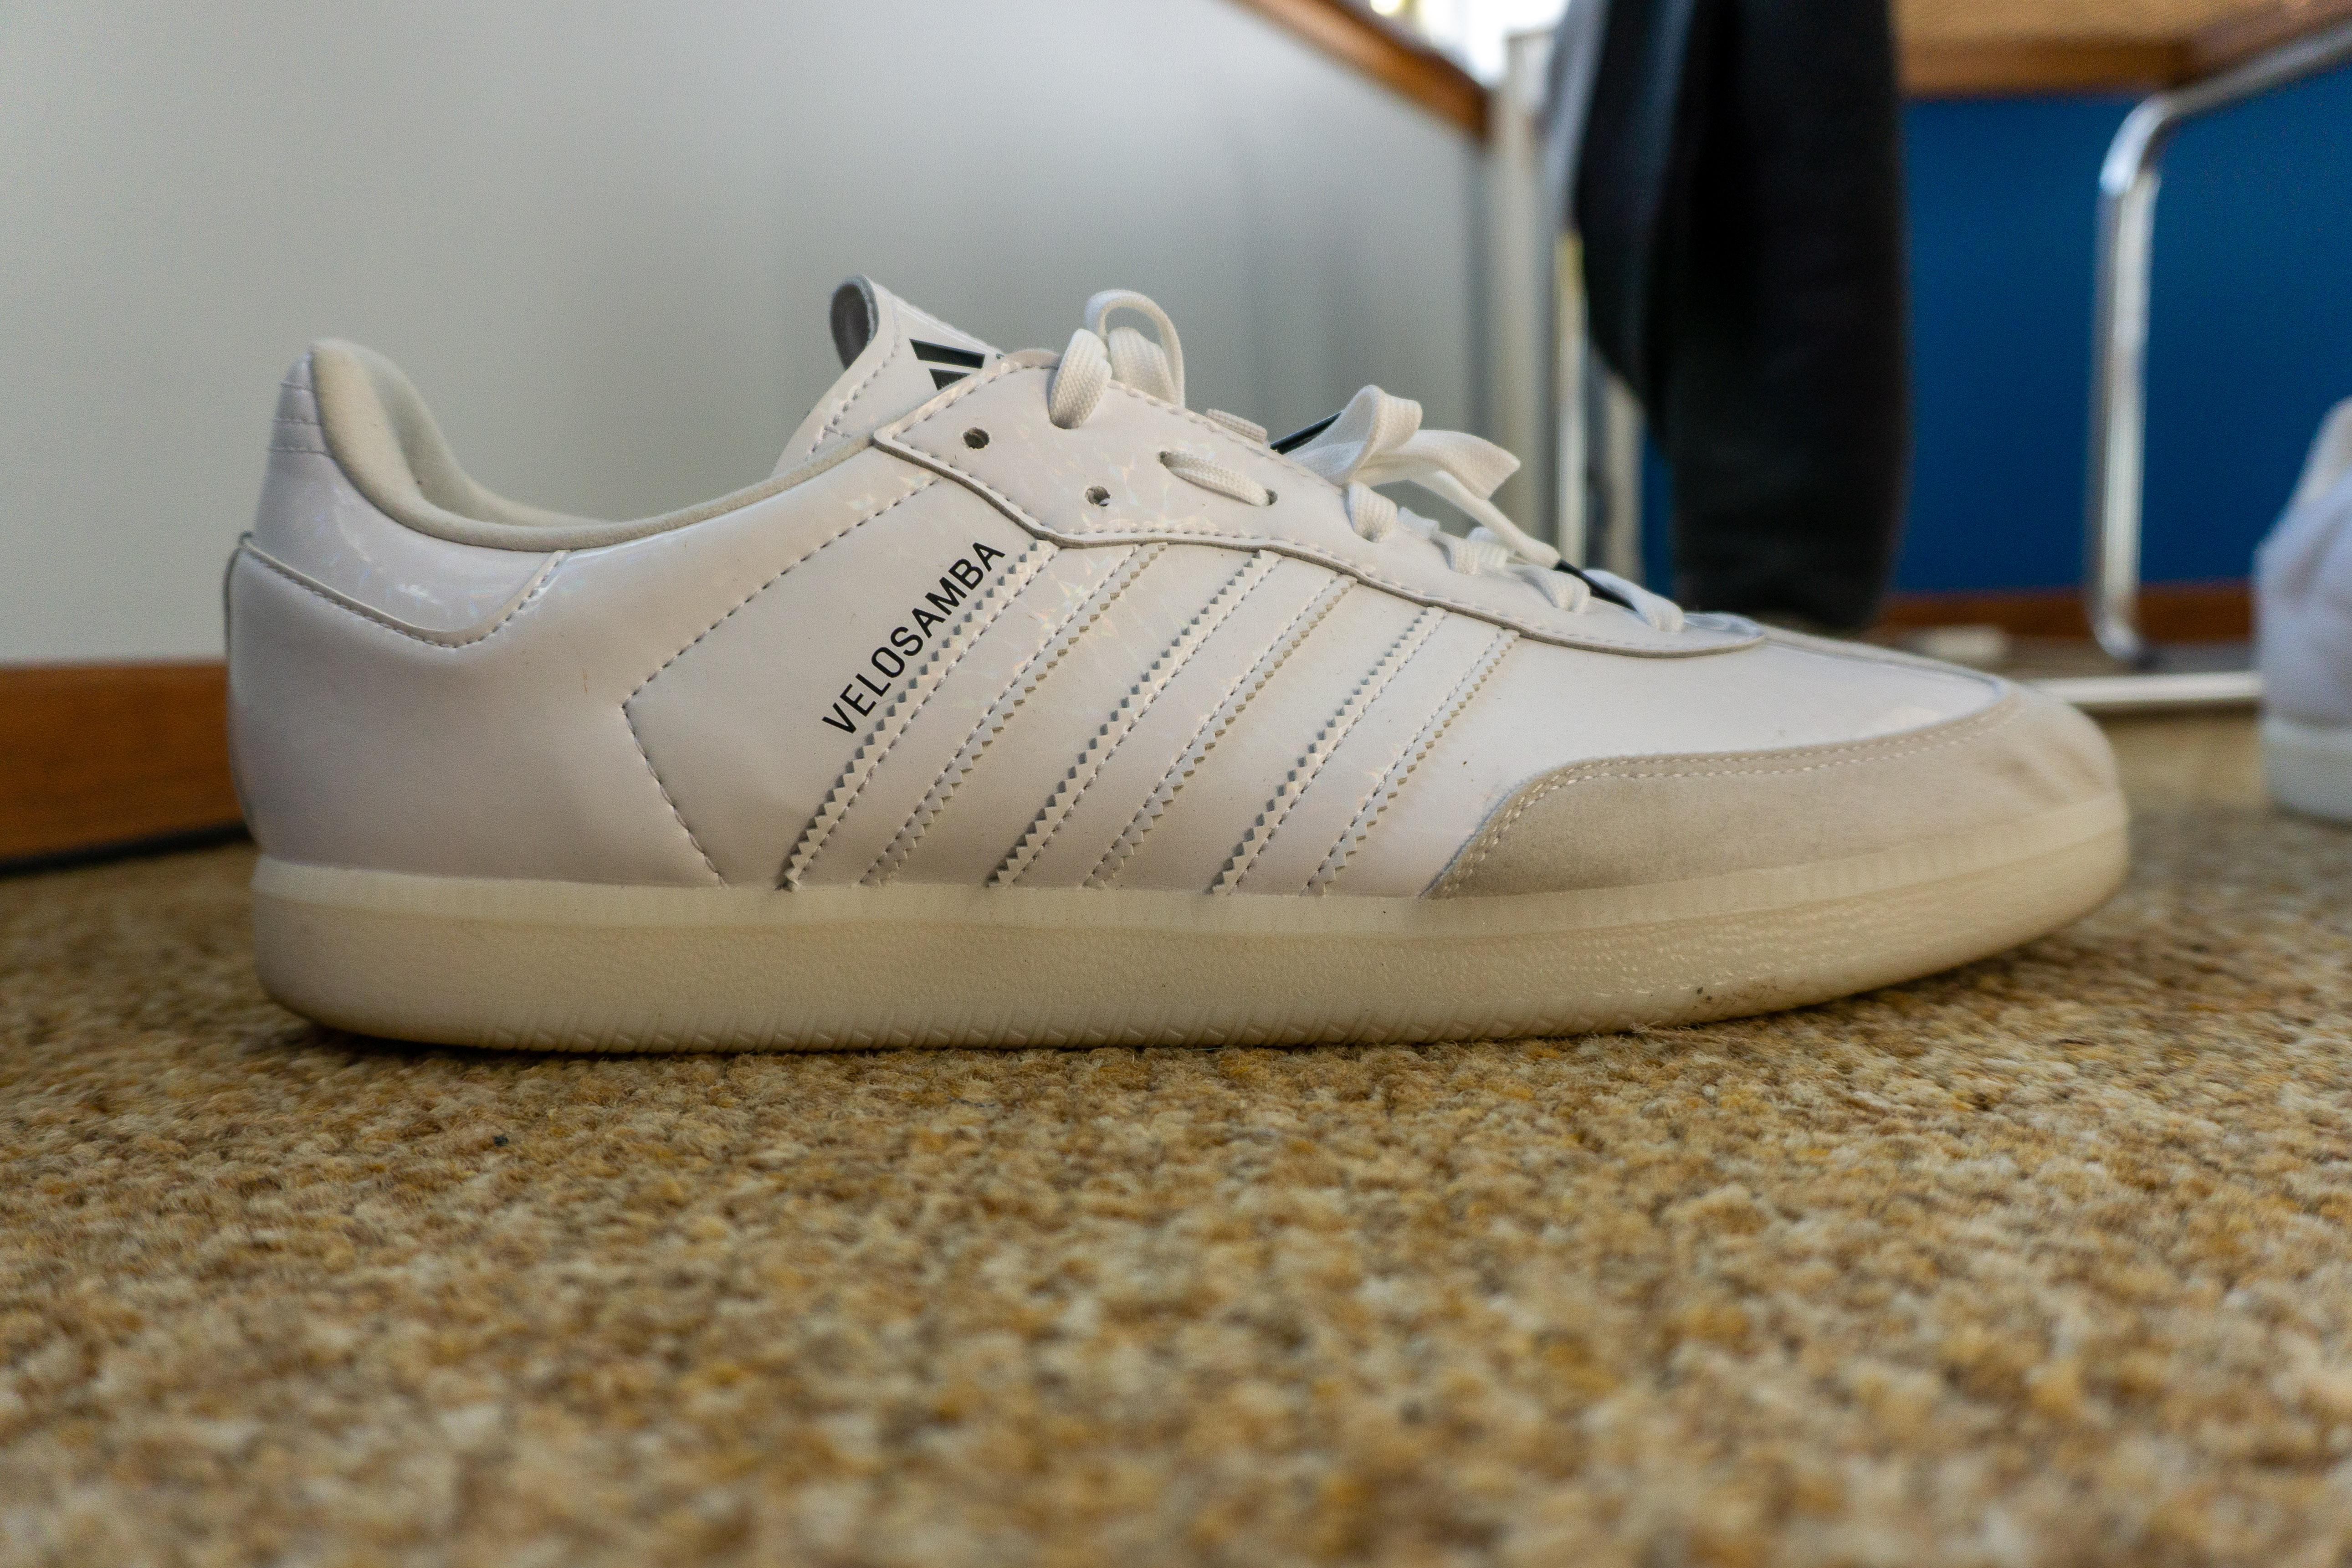
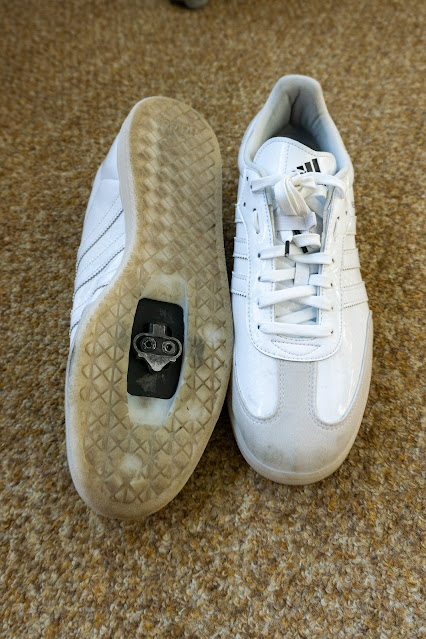
Shoes, shoes, shoes
My 2019 shoe experiences were a mixed bag. Let's start with the good:
I finally retired my Lake MXZ-302 winter boots and replaced them with the 303 successor model. New models don't always improve a product, but in this case the 303 do indeed fix a couple flaws of the 302: The 303 has a rubber cap instead of leather over the toe section of the boot, which was the most worn piece on my 302. The flap across the top of the boots is now closed with a snap buckle and not velcro -- slightly less convenient but it should be much longer lasting. My only complaint about the new model is the more prominent graphics and branding on the boots. I could have done without that, but even without them they're still very obviously a cycling boot and not some piece of casual footwear.
Bontrager Rhythm MTB shoes
As mentioned above, when I bought my Gunnar MTB I had some aspirations of doing more trail riding this year. That was part of the motivation to spontaneously buy a pair of Bontrager shoes to eventually replace my worn Mavic MTB shoes. The Bontragers have extra padding and height on the pedal side of the shoe to protect your ankle, and in general are more beefy. More shoe than I need for my mostly road riding.
Giro Republic LX
The next try to replace the Mavis was with Giro Republic LX shoes. These are the ones in the all-reflective grey colorway. I initially liked them: They look good; you can
replace the walking pads
, they have a nice stiff sole. But very recently I learned that the walking pad placement prevents me from clipping into my
Shimano XT SPD trail pedals! Maybe I can move the cleats by a millimeter or so to fix this, but if not that's probably a deal breaker.
 |
| Much reflection! |